Library Interface
This Library interface is what you see when you use to manage the resources in your library, such as the data you upload, and the tiles you create or import. It is also from here that you can launch viewers and editors of those resources. Here it is, with the Tiles area in the library selected.
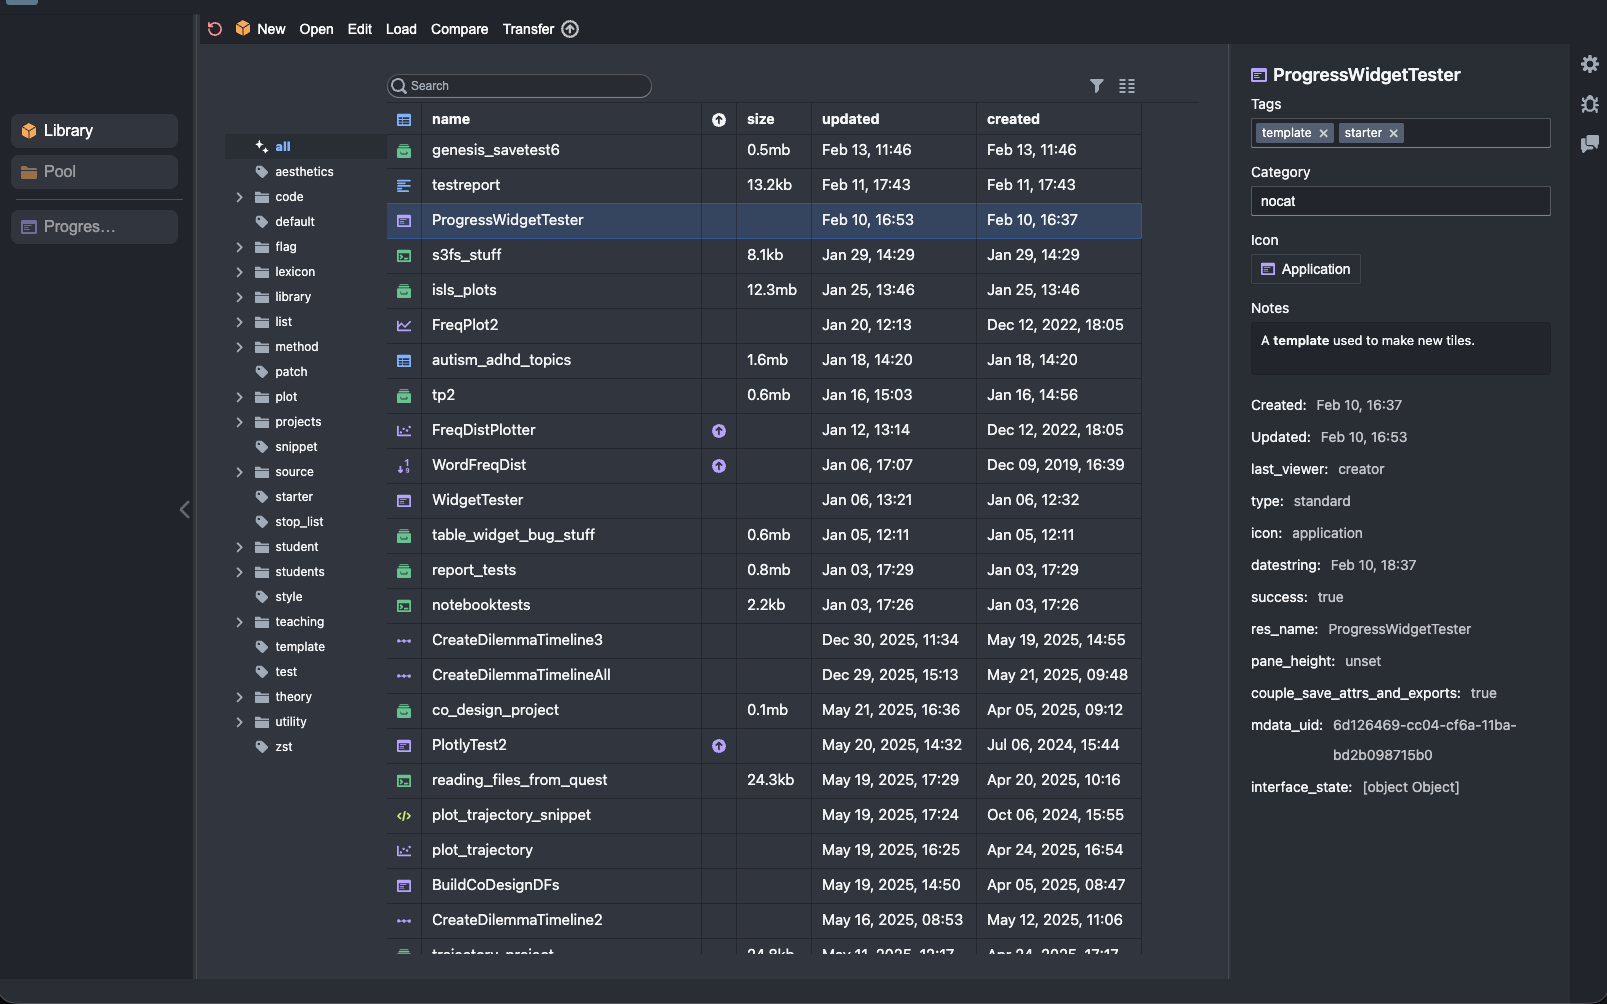
Here’s a little tour:
Filtering and Columns
Clicking on the filter icon about the resource list shows the filtering bar.

The Resources dropdown lets you filter by resource type.
The switches behave as follows;
Search Metadata. Include metadata in the search.
Search Inside. Search inside the content of resources. This only works for some resource types.
Show Hidden. Show resources that have the
hiddentag.
The icon to the right of the filter icon brings up a dropdown that lets you select which columns are visible.
The tag tree
Just to the right of the sidebar is the tag tree. You can learn more about how this tree gets populated here. Clicking on a tag in the tree filters the list of resources you see in the table.
Some tags are special. You can read about them here.
One thing that might not be obvious is that you can Right-Click (or Control-Click) on a tag to get a context menu that will let you edit or delete a single tag.
The central table
This is where you view your list of resources. You can select a resource here.
You can also select multiple rows. A subset of the toolbar functions can operate on multiple resources. Also, you can supposedly edit the metatdata for multiple resources in this way. This is useful, for example, to want to apply a tag to a bunch of resources. I’m not sure it works now though.
You can also Right-Click (or Control-Click) on a row in the table to access a context menu. The available functions replicate a subset of the functions available in the menubar.
The metadata editor
Finally, on the ride side of the library interface is a panel where you can view and edit the metadata associated with the selected resource.
Keyboard shortcuts
Actually, I forgot something else. There are a few handy keyboard shortcuts in the Library:
Tab
Cycle forward through the sidebar panes.
Shift-Tab
Cycle backward through the sidebar panes.
Arrow-Up, Arrow-Down
Move the selected row up or down.
space, enter
View the selected resource.
Ctrl-Space
Show the omnibar.